

INSTALLING
GLUE DOWN
BEFORE YOU BEGIN
All recommendations and instructions should be followed in order to ensure a successful installation.
Read the full PDF for more detail.
Ensure that the style, color and construction are correct.
Visually inspect product from different production lots for slight variations. Slight variations in gloss may be visible with mixed lots.
Inspect all planks before installation to ensure there are no damaged or defective planks.
Store all cartons of flooring on a flat surface in neat stacks in order to prevent warping. Boxes should never be stored on their sides.
Leaving the cartons closed, let standard vinyl flooring acclimate in a horizontal position for 48 hours prior to installation. While acclimation of stone core vinyl products is not required, installation of the floor covering should be in a controlled environment with operational heating and air conditioning.
This product should be installed after all other trades (with exception of baseboard installation) have completed work, in order to prevent damage to the product.
Cabinets should not be installed on top of the flooring.
Ensure that the subfloor is suitable for installation, including being free from cracks and high or low areas which may affect the performance of the flooring. All necessary corrections should be made before installation begins. Read the PDF for more information about specific subfloors.
Measure the room to determine the width of the last row of planks. If the width is less than 8 mm (3"), the width of the first row of planks should be cut accordingly.
Remove all existing trim before the installation of the product. As this is a floating floor, nails should never be used during the installation of planks. Care should be taken to ensure that no nails penetrate the flooring when the trim is put back on.
In order to ensure good blending of the pattern and best overall look, open multiple boxes at the same time and sort the planks by visual inspection before they are installed.
It is recommended that during the installation that a periodic visual inspection be done to make sure there is a good mix of plank patterns.
RECOMMENDED TOOLS AND MATERIALS
Utility knife and replacement blades
Measuring tape
T-Square
Straight edge
Pencil/marker
Pressure sensitive adhesive
Notched trowel (as recommended by the adhesive manufacturer)
Table saw or jigsaw (for installing stone or rigid core products only)
Safety glasses/goggles
Dust mask
Floor patch (if necessary)
INSTALLATION
PLANNING YOUR FLOOR
Begin in the corner of the longest wall. Prior to applying the adhesive, lay a complete row of planks to determine the length of the final plank. If the last plank is shorter than 300 mm (11.8"), then adjust the starting point accordingly.

LAYING YOUR FLOOR
Apply a high tack universal flooring at the corner of the longest wall. Avoid spreading more adhesive than needed, as the adhesive will lose its ability to fully stick to the back of the planks.
Position the first plank at your starting point and apply firm, all over pressure to achieve contact. Lay all planks, ensuring a close fit, but do not force together. Ensure that the cut edge always faces the wall and stagger the joints.
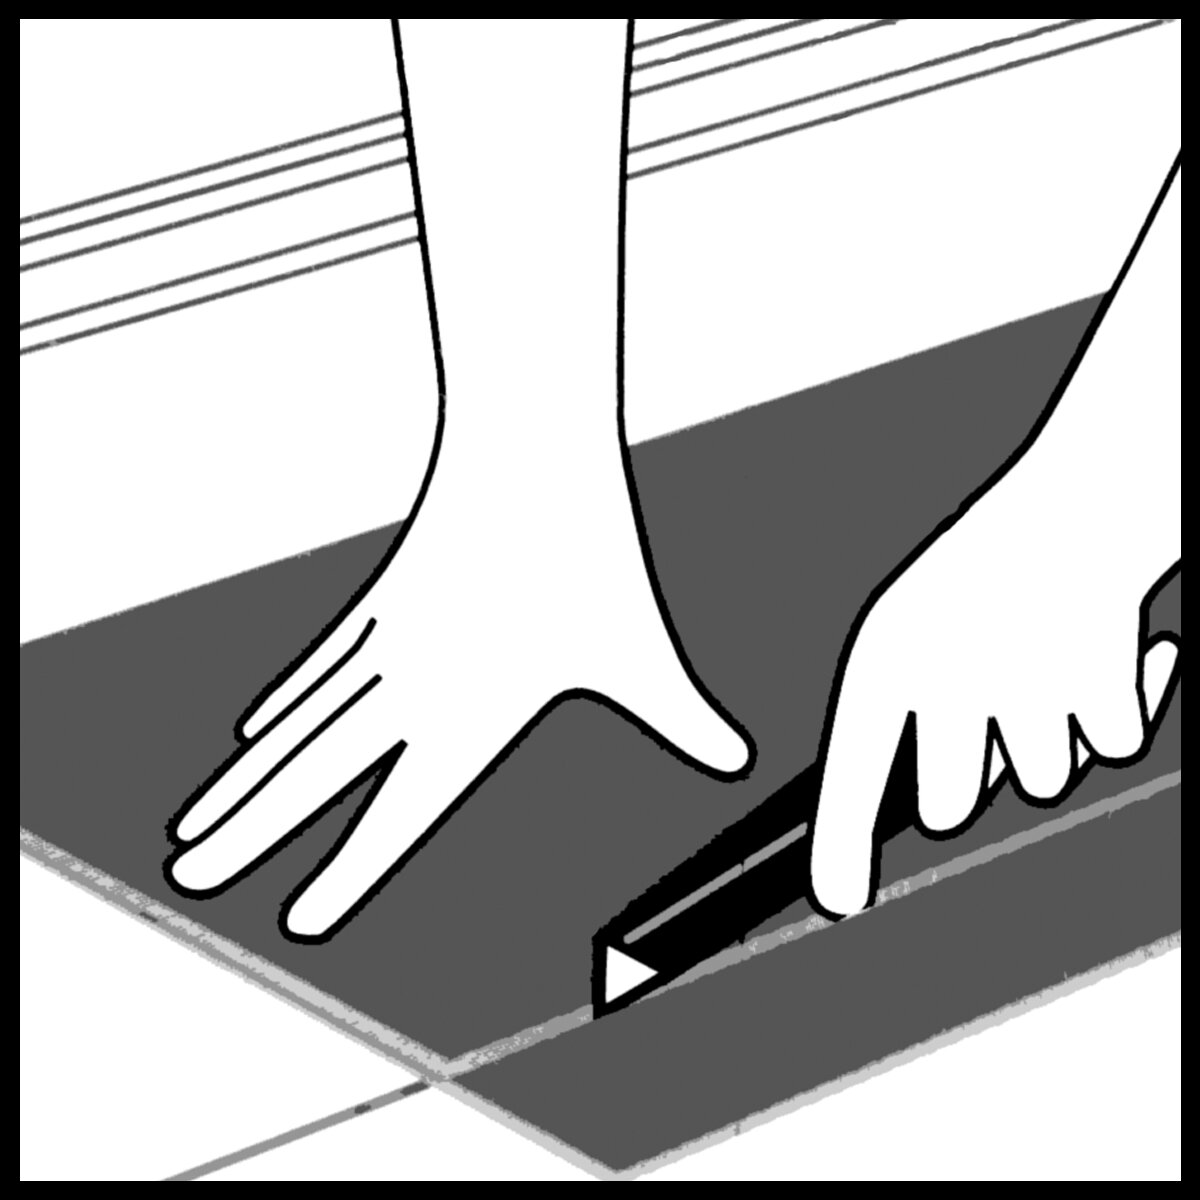
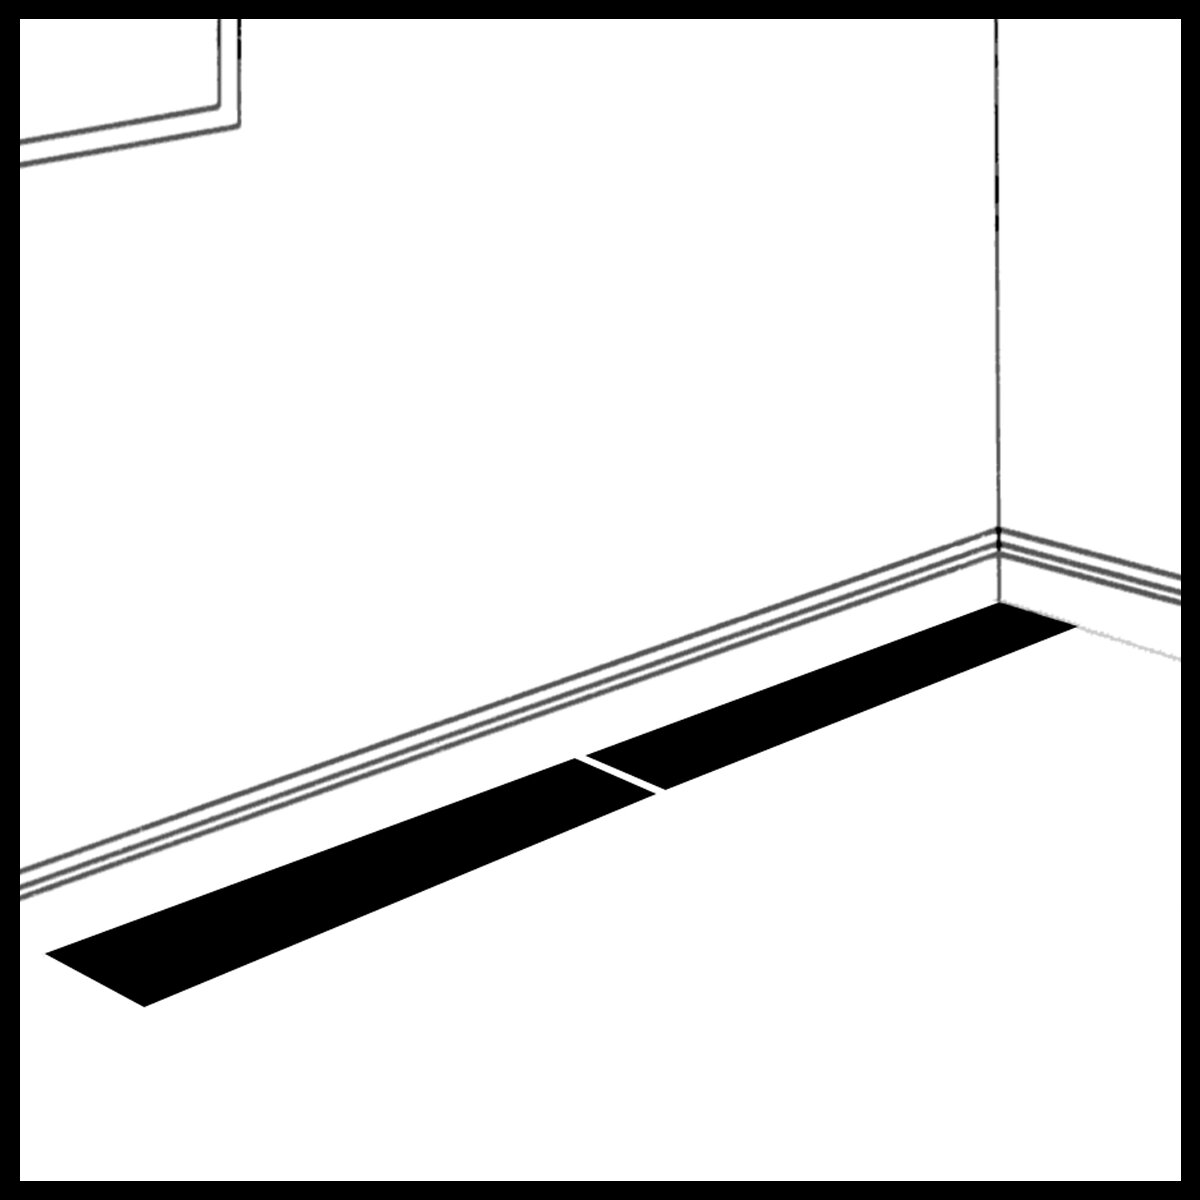
THE LAST ROW
When you reach the last row, you may find that the gap is less than one full plank wide. Lay one plank exactly over the last full plank, lay another full plank against the wall and mark the cutting line where the planks overlay. Before applying the adhesive, check that the cut plank fits correctly.
HELPFUL HINTS
To fit air vents, door frames or other fixed objects, make a cardboard pattern as a guide and use this to draw an outline on the plank. Cut to shape and check that it fits.
When you have finished laying your floor, use a three-section roller to roll across the length of the floor to flatten any ridges and make the seams level. Clean up any remaining or spilled adhesive with a damp cloth.
Allow 5 to 7 days before washing the floor to allow the planks to adhere to the sub floor.

CARE AND CLEANING
Our guide to keeping your vinyl flooring clean and making sure it lasts as long as possible.

WARRANTY
Our our vinyl products are covered by industry standard warranties.
MORE QUESTIONS?
Read our Frequently Asked Questions About Vinyl Flooring